Recycled Art Projects That Teach History (Free & Easy!)
The Eaton Team
•April 10, 2026•
14 min read
You’re staring at a recycling bin full of cardboard boxes and plastic containers. You wonder if there’s a way to turn this clutter into something meaningful for your homeschool day. What if those egg cartons and cereal boxes could become recycled art projects that teach creativity, problem-solving, and care for the environment—all without a trip to the craft store?
Recycled art projects turn everyday waste into hands-on learning experiences. Your children can practice fine motor skills while cutting and gluing. They explore engineering concepts by building structures. They develop artistic expression using unexpected materials. Best of all, these projects cost almost nothing and teach valuable lessons about resourcefulness and caring for our planet.
Let’s explore how you can turn your household recyclables into memorable learning moments that your kids will actually enjoy.
Why Recycled Art Projects Work So Well for Homeschoolers
Recycled art projects solve one of the biggest homeschool challenges: the constant need for fresh supplies and new ideas. Instead of making yet another run to the craft store, you’re using materials that arrive at your doorstep with every grocery delivery and Amazon order.
Zero-cost materials that are always available. Toilet paper rolls, egg cartons, cardboard boxes, and plastic containers pile up naturally in every home. You’re not spending money—you’re preventing waste.
Teaches care for the environment and creative problem-solving at the same time. When kids turn a cereal box into a robot or milk jug into a bird feeder, they’re learning that “trash” is just a resource waiting for imagination. This mindset shift matters more than any worksheet about recycling.
Reduces pressure to have perfect craft supplies on hand. No more guilt about missing the “right” colored paper or special glue. Recycled art embraces imperfection and resourcefulness as core values.
Encourages kids to see potential in everyday objects. This skill—looking at something ordinary and imagining what it could become—builds creative confidence that extends far beyond art time.
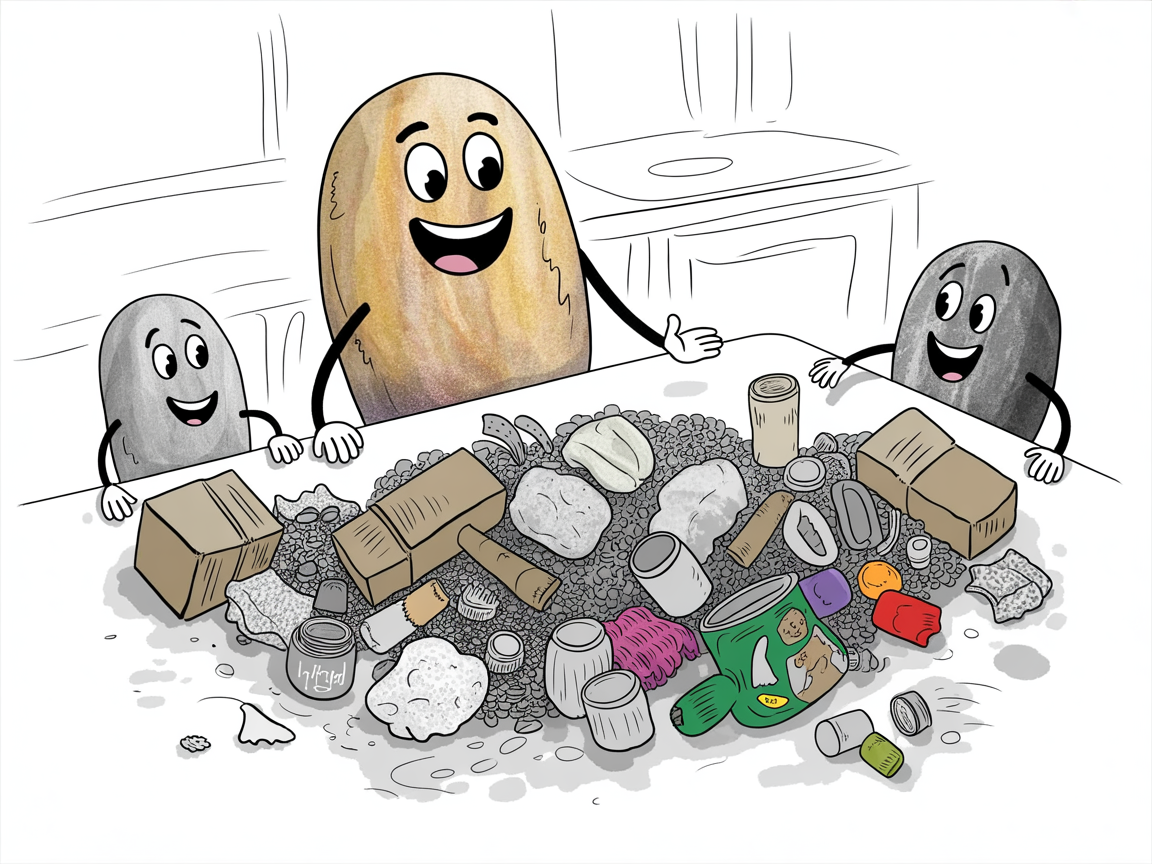
What Types of Recycled Materials Are Commonly Used for Art Projects?
Your recycling bin and junk drawer are treasure troves for creative projects. Most families already have everything they need to start creating without spending a dime. Here’s what you can collect and save for your next art session:
Cardboard boxes, tubes, and egg cartons — These sturdy materials are perfect for building structures like castles, robots, or animal habitats. Toilet paper rolls become binoculars or marble runs. Egg cartons turn into caterpillars or sorting trays.
Plastic containers, bottle caps, and lids — Clean yogurt cups, milk jugs, and detergent bottles offer smooth surfaces for painting and decorating. Bottle caps add pops of color to mosaics or become wheels for cardboard cars. The variety of shapes and sizes sparks creative problem-solving.
Paper products like newspapers, magazines, and junk mail — These materials are ideal for collage work, papier-mâché projects, and paper weaving. Colorful magazine pages create beautiful mosaics. Newspaper strips build strong sculptural forms when layered with paste.
Natural materials like sticks, leaves, and stones — Don’t overlook your yard’s creative potential. Fallen branches become frames or sculpture armatures. Leaves and flower petals create nature prints and seasonal collages. Smooth stones are perfect canvases for painted designs.
Simple Recycled Art Projects for Younger Children (Ages 4-8)
Younger children thrive with recycled art projects that offer clear, achievable goals and plenty of room for creative expression. These activities build fine motor skills while keeping little hands busy with materials you already have at home.
Egg carton caterpillars and flowers: Cut individual cups from egg cartons and let kids paint them in bright colors. String them together with yarn for wiggly caterpillars. Or arrange them in circular patterns to create colorful flowers. This project teaches counting, color mixing, and pattern recognition.
Cardboard tube animals and binoculars: Toilet paper and paper towel tubes become lions, owls, or telescopes with just paint and construction paper scraps. Glue two tubes together for binoculars that inspire outdoor exploration and nature observation.
Bottle cap stamping and sorting: Plastic bottle caps make perfect paint stamps for creating patterns and textures. Younger kids can sort caps by color or size before stamping. This combines math skills with art.
Cereal box puzzles and matching games: Cut the front panel of a cereal box into large puzzle pieces for toddlers or smaller pieces for older children. You can also create memory matching games using two identical boxes.
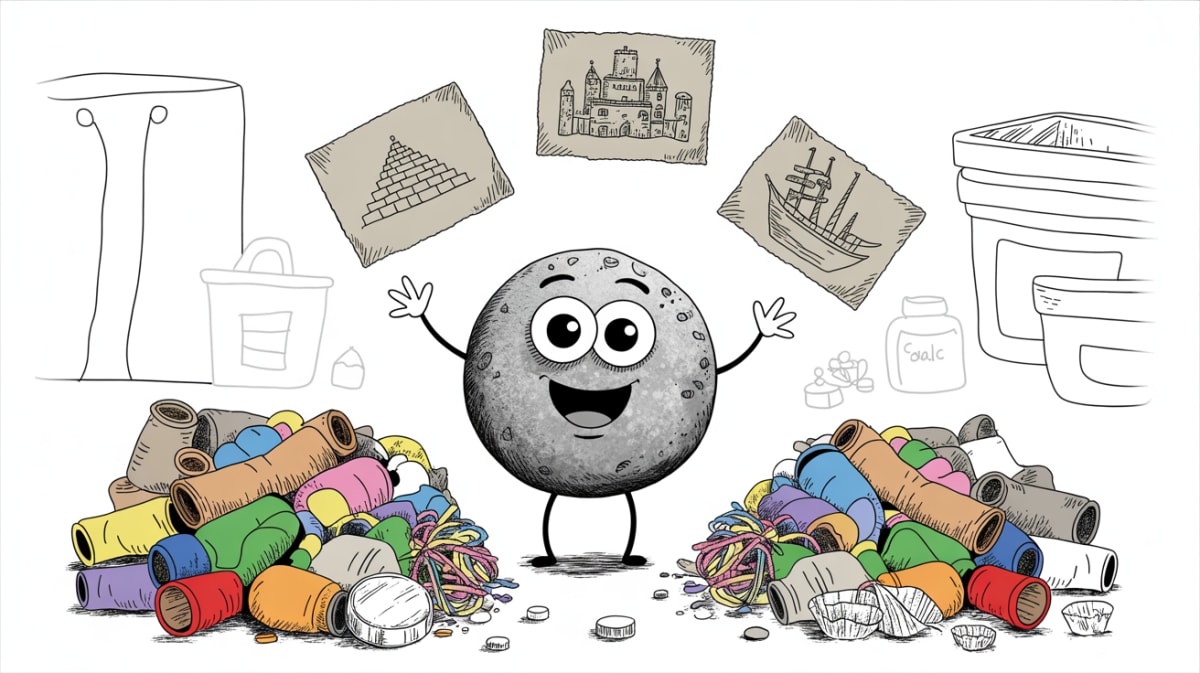
Building Projects: Castles, Cities, and Structures from Recyclables
Construction projects using recyclables let your kids become architects and engineers. They reinforce lessons from history, literature, or science at the same time.
A cardboard box turns into a medieval castle when you add towers made from paper towel tubes. This is perfect for bringing a history unit on the Middle Ages to life. Your child can cut out windows and create drawbridges from cardboard flaps. They can even add flags made from scrap paper.
Shoebox dioramas work beautifully for any subject. Recreate a scene from a novel you’re reading aloud. Build a habitat for a science lesson. Or design a historical setting complete with figures cut from old magazines.
Milk jugs become the building blocks for miniature cities. Your kids can plan roads, design neighborhoods, and explore basic urban planning concepts. And those popsicle sticks you’ve been saving? They’re ideal for engineering challenges like building bridges that can hold weight. Or creating geometric structures that teach about triangles and stability.
Each project sneaks in math, spatial reasoning, and problem-solving. Your kids think they’re just having fun building.
Advanced Recycled Art Projects for Older Students (Ages 9+)
Older students are ready for projects that challenge their problem-solving skills and produce results they’ll actually want to keep. These advanced recycled art projects combine technical skills with creative expression. Tweens and teens get a chance to work independently while learning real-world building techniques. You’ll notice their confidence grow as they turn trash into impressive finished pieces.
Papier-mâché sculptures teach patience and planning as students build armatures from cardboard boxes and tubes. Then they layer newspaper strips with flour paste to create animals, masks, or abstract forms they can paint and display.
Wire and plastic bottle sculptures explore balance and three-dimensional design. Students cut plastic into shapes and thread them onto wire. They create mobiles or standing sculptures that catch light beautifully.
Magazine collage portraits develop composition skills as teens cut words and images to create self-portraits or themed artwork. These express their interests and identity.
Functional container projects like desk organizers, hanging planters, or backyard birdhouses combine art with practical problem-solving. They teach measurement and construction skills students will use for years.
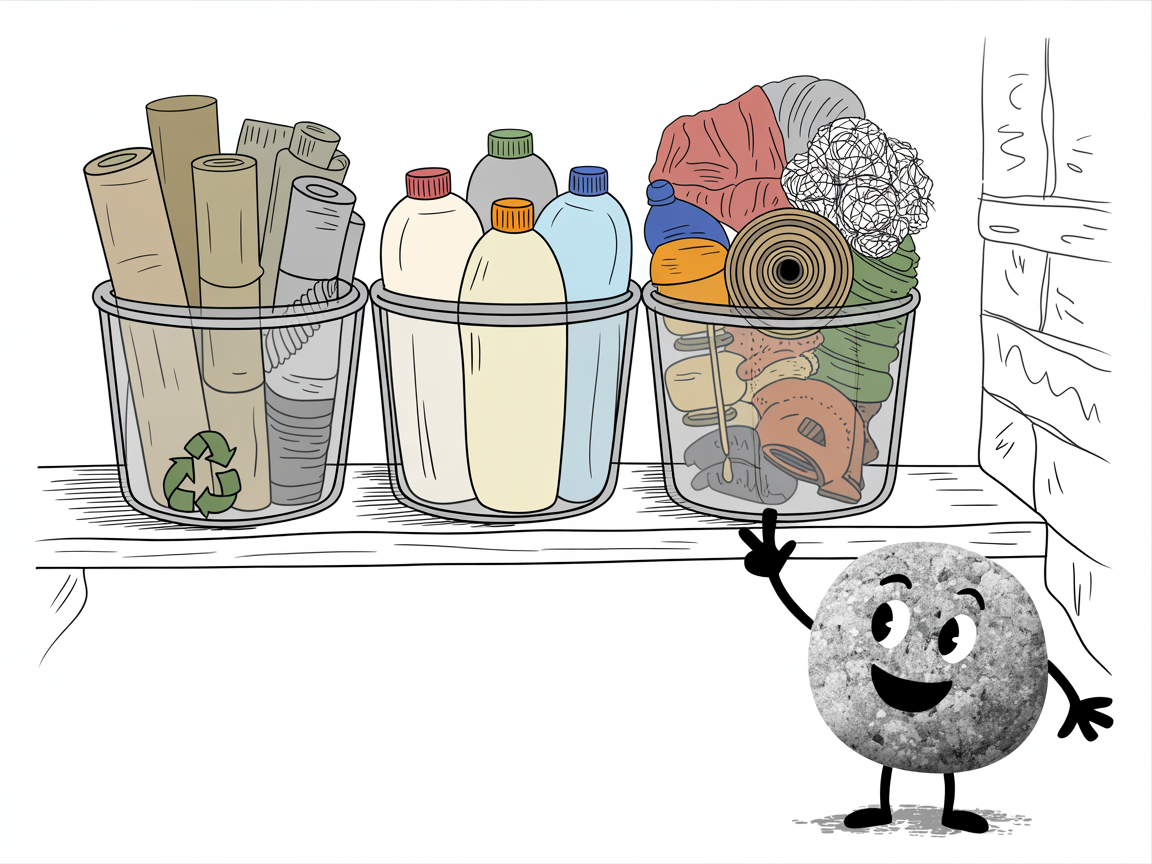
How to Start a Recycled Materials Collection for Art Projects
Before you can dive into recycled art projects, you need a system. This keeps materials organized without turning your home into a recycling center. The key is being selective about what you save and creating clear boundaries from the start.
Choose your storage spot. Pick a bin, basket, or shelf in a place kids can access easily. A clear plastic tub works well because everyone can see what’s inside without dumping everything out.
Clean everything before storing. Rinse out yogurt cups, milk jugs, and jars with warm water. Let them dry completely before adding them to your collection. This simple step prevents mystery smells and sticky messes.
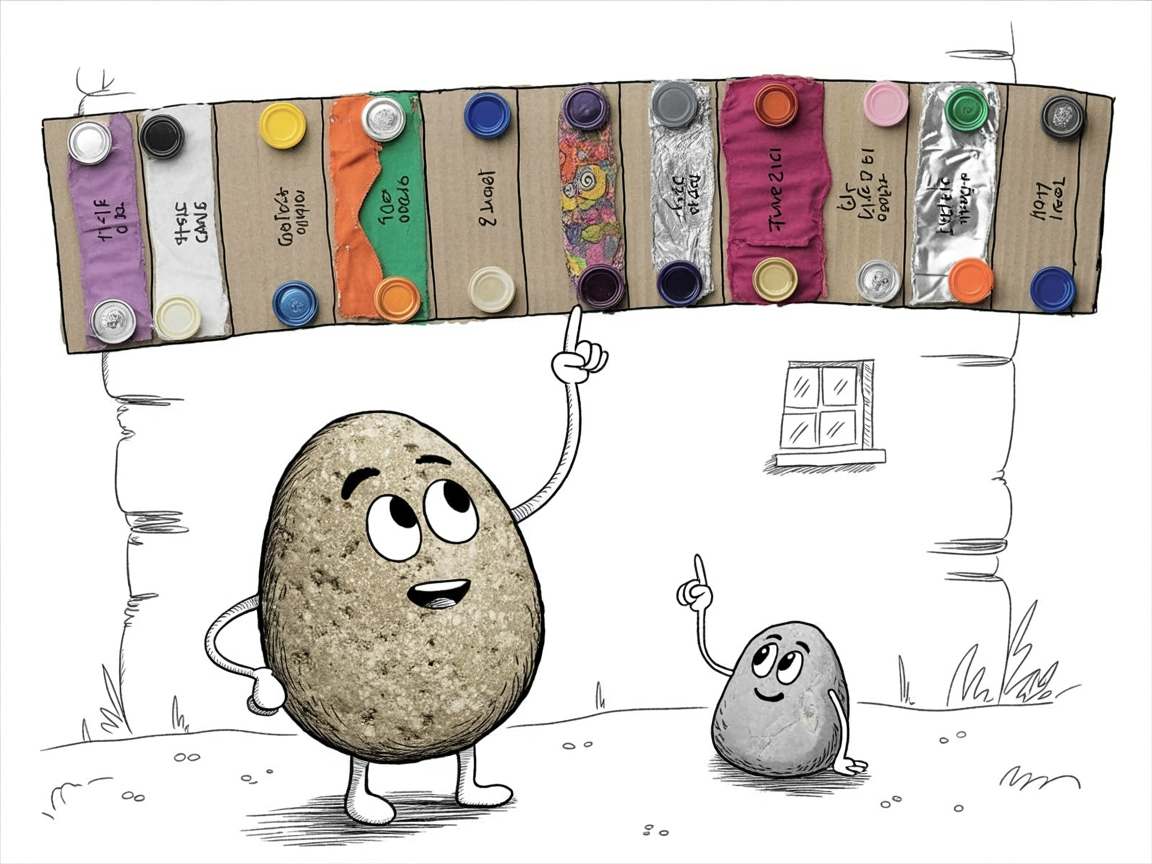
Set firm limits. Decide how much space you’ll dedicate to art recyclables and stick to it. When the bin is full, it’s time to use what you have or let some items go to actual recycling.
Let kids be curators. Ask your children which items spark their imagination. They’ll spot creative potential in materials you might overlook. And they’ll be more excited to use supplies they helped choose.
Connecting Recycled Art Projects to Your Homeschool Curriculum
Recycled art projects aren’t just crafts—they’re rich learning opportunities. They connect to nearly every subject you’re already teaching.
When your child builds a cardboard city, they’re applying geometry and measurement skills from math. When they test which materials make the strongest bridge, they’re exploring engineering principles and material properties from science. Creating a diorama from a shoebox turns history or literature lessons into tangible, memorable experiences.
Even the process itself teaches valuable life skills. Planning a multi-step project. Working through challenges when something doesn’t stick or balance properly. Cleaning up thoroughly when finished.
The key is to make these connections explicit. Ask questions while your kids work: “Why do you think the plastic bottle is stronger than the paper tube?” or “How can you measure to make sure both sides match?” These simple prompts turn a fun afternoon activity into intentional learning. They reinforce concepts across your entire curriculum.
Frequently Asked Questions
What’s the best way to store recycled materials for art projects?
Set up a bin or shelf in a dry area where your kids can easily reach materials. Clean and dry all containers well before storing them—nobody wants moldy yogurt cups showing up in their next art session. Be realistic about your space and set limits on what you keep. You might decide to save only cardboard boxes under 12 inches. Or limit plastic containers to one small bin’s worth. Rotate items by season to keep your collection fresh and manageable. When your storage area fills up, it’s time to either use what you have or let some items go to actual recycling.
How do I get my kids excited about using recyclables instead of new craft supplies?
Frame it as a creative challenge rather than a cost-saving measure. Ask your kids, “What could we make from this?” and let them brainstorm wild ideas. Show them examples of amazing recycled art online—there are robots made from tin cans, castles built from cardboard, and sculptures created from bottle caps. Let your children choose which materials to save and what projects to tackle first. When they feel ownership over the process, they’re more likely to see recyclables as treasure instead of trash.
Are there any recycled materials I should avoid for safety reasons?
Yes—skip anything with sharp edges like tin can lids or broken plastic. Avoid containers that held chemicals, cleaning products, or anything toxic, even if you wash them well. Materials with strong odors or residue that won’t come off should go straight to recycling. Watch younger children carefully with small bottle caps or lids that could become choking hazards. When in doubt, trust your instincts. If something feels unsafe, it probably is.
Can recycled art projects really teach the same skills as expensive craft kits?
They often teach better skills, actually. Craft kits come with instructions and preset outcomes—your child follows steps and ends up with what’s on the box. Recycled art projects require problem-solving and adaptability. Your kids learn to work with what they have, think creatively about materials, and develop their own vision instead of copying someone else’s. These are the skills that matter in real life, whether they’re fixing a broken toy or tackling a challenge at work someday. Plus, there’s something empowering about creating something from nothing.
That overflowing recycling bin isn’t just trash waiting to go out to the curb—it’s a treasure chest of learning opportunities that cost you nothing. You don’t need fancy art supplies or a Pinterest-perfect craft room to give your kids meaningful creative experiences. The cardboard boxes, plastic bottles, and egg cartons you already have are enough to spark imagination, build problem-solving skills, and teach your children that creativity isn’t about having the perfect materials—it’s about seeing possibilities where others see waste.
Start small this week. Pick one simple project that matches what’s currently in your recycling bin. Let your kids lead the way with their own ideas, even if the final product looks nothing like you imagined. The wobbly cardboard robot or lopsided egg carton flower matters less than the confidence your child gains from turning something ordinary into something they created with their own hands. These are the moments that build lifelong creative thinking skills—and they’re happening right now in your kitchen, using materials you were going to throw away anyway.
Curated resources and expert insights from the Eaton team to support your homeschool journey. Our content is researched and crafted to help families thrive.