Science Fair Project Ideas That Actually Work for Homeschoolers
The Eaton Team
•April 20, 2026•
11 min read
It’s 10 PM and your child just remembered their science fair project is due next week. You’re staring at a blank poster board, wondering how to find science fair project ideas that are interesting enough to keep your child engaged but simple enough to actually finish. Take a breath — you’ve got this, and you don’t need a PhD to help your child create a great project.
The best science fair projects come from curiosity, not complexity. Your child doesn’t need expensive equipment or advanced knowledge to impress the judges. What they need is a clear question, a simple experiment, and help organizing their findings. Whether you’re working with a kindergartener who wants to know why ice melts or a high schooler exploring chemical reactions, the right project is out there.
This guide walks you through age-appropriate science fair project ideas, step-by-step planning tips, and ways to help your child present their work with confidence. Let’s turn that blank poster board into something your whole family can be proud of.
How to Choose the Right Science Fair Project for Your Child
The secret to a successful science fair project isn’t picking the most complicated experiment. It’s choosing something your child genuinely cares about. When kids work on topics they’re curious about, they stay motivated through the tough parts. They also communicate their findings with real enthusiasm.
Start by asking your child what they wonder about. Does your daughter ask why plants grow toward windows? Does your son want to know which paper airplane design flies farthest? These everyday questions make excellent science fair project ideas because your child already wants to know the answer.
Before you commit to an idea, consider these practical factors:
Your actual schedule: Be honest about how many hours you can supervise experiments. A project requiring daily observations for three weeks won’t work if you’re traveling for work.
Project requirements: Check your teacher’s guidelines first. Some programs ban certain topics like mold growth or require pre-approval for experiments involving people.
Available materials: The best project uses supplies you already have or can buy at a regular store. Save the specialized equipment for high school.
Your child’s independence level: Younger kids need projects they can mostly do themselves with your guidance, not experiments that require you to do the work.
Science Fair Project Ideas for Elementary Students (Grades K-5)
Elementary students learn best when they can see results quickly and touch everything along the way. The science fair project ideas that work well at this age answer questions kids actually ask: “Why does that happen?” or “Which one is better?” You want experiments that finish in a week or two, use materials from around the house, and let your child do most of the work themselves.
Here are proven project ideas that check all those boxes:
Plant growth experiments: Give identical plants different liquids like water, juice, or soda. Or put them in different light conditions like a sunny window, closet, or partial shade. Measure growth every few days. Kids love watching visible changes.
Ramp and speed tests: Build ramps at different angles using books and cardboard. Race toy cars down each ramp and measure how far they travel. This introduces physics concepts without feeling like a textbook.
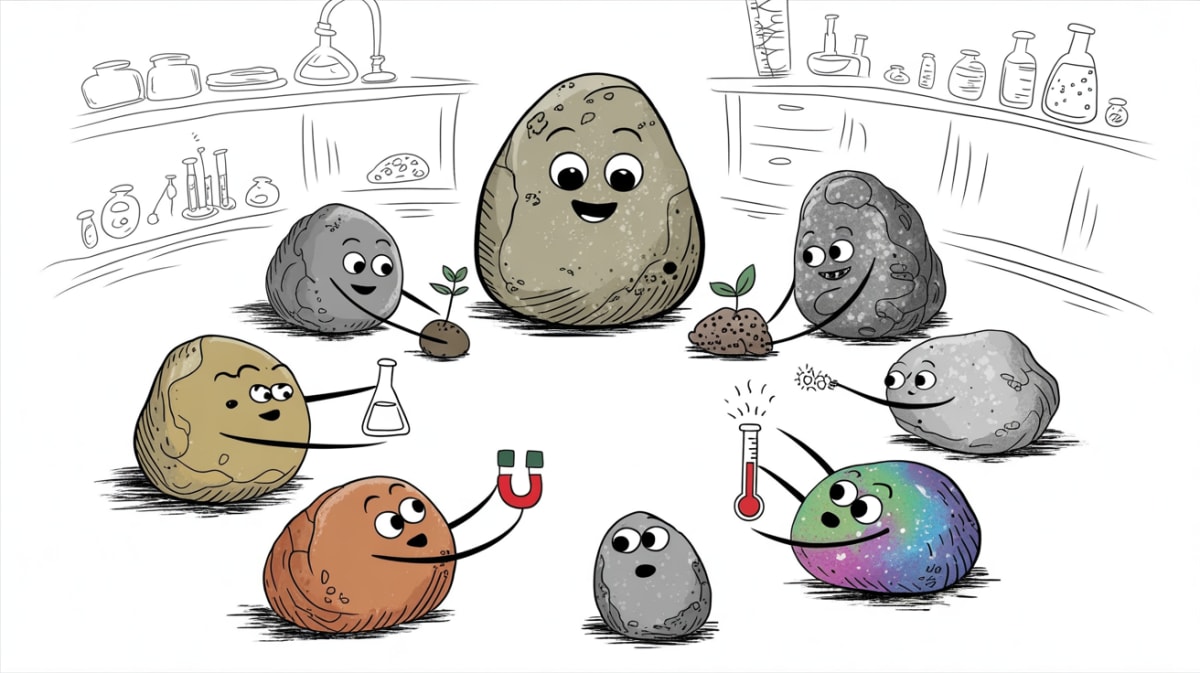
Kitchen chemistry reactions: Mix baking soda and vinegar in different ratios. Add food coloring to make it visual and measure the fizz height. It’s messy, colorful, and demonstrates chemical reactions.
Magnet strength comparisons: Test different magnets by counting how many paper clips each one holds. Try separating magnets from paper clips with paper, cardboard, or aluminum foil to see what blocks magnetic force.
Science Fair Project Ideas for Middle School Students (Grades 6-8)
Middle school is where science fair projects get more sophisticated. Your child can now handle multi-day experiments, collect meaningful data, and draw real conclusions. These science fair project ideas work well because they’re interesting enough to hold attention but don’t require specialized equipment you can’t find at home.
Battery life comparisons: Test which battery brands last longest in flashlights or remote controls. Your child can also compare how temperature affects battery performance. Does a battery in the freezer die faster than one at room temperature?
Water filtration systems: Build simple filters using sand, gravel, coffee filters, and activated charcoal. Test how well each combination removes food coloring or sediment from dirty water. This project teaches practical skills and environmental science.
Mold growth experiments: Place identical bread slices in different conditions like sealed bags, open air, refrigerated, or with preservatives. Document which grows mold fastest with photos every day. It’s gross enough to be fascinating but safe when handled properly.
Heart rate and external factors: Measure how different types of music like classical, rock, or silence affect heart rate recovery time. Or test how exercise intensity changes recovery. Your child learns to collect data on themselves or volunteers while exploring how our bodies respond to stimuli.
Quick Science Fair Projects You Can Do in One Weekend
Sometimes you need a project that delivers results fast. Maybe you’re working around a busy schedule. Or your child just decided last-minute that they want to participate. These science fair project ideas require minimal materials, take just a day or two, and still teach real scientific concepts.
Paper airplane designs: Test three different folding patterns to see which flies farthest. Measure each flight three times and average the results. Your child learns about aerodynamics and data collection without any special equipment.
Ice melting rates: Wrap ice cubes in different materials like aluminum foil, newspaper, bubble wrap, or nothing at all. Time how long each takes to melt completely. This demonstrates insulation properties using things you already have at home.
Red cabbage pH tests: Boil red cabbage to make a natural pH indicator that changes color. Test household liquids like lemon juice, baking soda solution, and vinegar. The color changes are dramatic and the concept is straightforward.
Static electricity experiments: Rub balloons on different fabrics and see which materials create the strongest static charge by picking up the most paper bits. It’s simple, visual, and kids love it.
The Simple Framework for Any Science Fair Project
Every successful science fair project follows the same basic structure, no matter how simple or complex. Think of it as a recipe. Once you know the steps, you can apply them to any idea your child dreams up. This framework works for a first-grader testing which paper towel is strongest and a high schooler investigating plant growth under different light conditions.
Question: What does your child want to find out? Help them turn curiosity into a specific question. “Why do plants grow?” is too broad. “Do bean plants grow taller with music or silence?” gives you something to test.
Hypothesis: What do they think will happen and why? This is their educated guess before they start. “I think plants with music will grow taller because vibrations help them” shows they’re thinking about cause and effect.
Experiment: Test it the same way at least three times. Consistency matters more than fancy equipment. If they’re testing paper towels, use the same amount of water and the same weights each time.
Results: Write down what actually happened with photos or measurements. Numbers, pictures, and observations are all evidence. Even “wrong” hypotheses make great projects when the results are carefully recorded.
How Much Should You Help With the Science Fair Project?
Here’s the tricky part: you want to help, but you don’t want to take over. Your job is to be the guide and safety supervisor, not the project manager. Judges can tell when a project was done by a parent. That’s not what anyone wants.
Help your child brainstorm ideas and ask questions that get them thinking. “What do you wonder about?” or “What would happen if you changed that?” are great starting points. But when it comes to choosing the final project, let your child make that call. Their genuine interest matters more than your perfect idea.
Step in for safety. Handle hot water, sharp tools, or household chemicals. Beyond that, let the work look like what it is: kid work. Crooked letters on the poster board? That’s fine. A hypothesis that didn’t work out? Even better — that’s real science. The judges are looking for your child’s thinking process, not your graphic design skills.
Common Science Fair Project Mistakes to Avoid
Even experienced homeschool parents fall into these traps. The good news? They’re easy to avoid once you know what to watch for. Here are the mistakes that derail science fair projects and how to steer clear of them.
Starting with the display board instead of the experiment. Your child needs data before they can create a display. Do the experiment first, then organize the findings. The poster board is the last step, not the first.
Choosing a project that requires expensive or hard-to-find materials. If you can’t buy everything at your local grocery store or hardware store, pick a different project. Simple materials lead to less stress and better focus on the science.
Picking something too complicated for the available time. A project that needs three weeks of daily observations won’t work if you have five days. Match the timeline to your actual schedule, not your ideal one.
Forgetting to take photos during the experiment process. Judges love seeing the work in progress. Take pictures at each step. You can’t recreate them later, and they make the display board much more engaging.
Frequently Asked Questions
What makes a good science fair project?
A good science fair project asks a clear question, tests one thing at a time, and can be repeated to check results. It should match your child’s age and interest level, not just look impressive to adults. The best projects come from genuine curiosity. When your child wonders “what would happen if…” or “why does…” that’s your starting point. Judges look for projects that show the scientific method in action, not fancy presentations or expensive materials.
How long does a science fair project take?
Most projects need one to two weeks for experiments that require multiple trials or growing time. Simple projects can be done in a weekend if you’re in a time crunch. Always add extra time for the display board and unexpected problems. Seeds that don’t sprout, materials that don’t arrive on time, or results that surprise you all happen. Starting early gives your child time to troubleshoot without stress.
Can I help my child with their science fair project?
Yes, you should help guide the process and ensure safety, but the ideas and work should come from your child. Think of yourself as a coach, not a co-creator. You can ask questions that help them think through problems. Drive them to the store for supplies and proofread their report. But judges can tell when parents do too much, and your child learns more when they solve problems themselves.
What supplies do I need for a science fair project?
Most good projects use household items like paper, tape, baking ingredients, plants, or toys you already have. Check your kitchen, garage, and recycling bin before buying anything. Avoid projects requiring special equipment unless you have time to order supplies. Simple materials often lead to better projects because your child focuses on the experiment, not fancy equipment they don’t understand.
The best science fair project isn’t the one with the fanciest display or the most complicated hypothesis. It’s the one your child can finish, understand, and explain in their own words. You don’t need expensive lab equipment or a science degree to help them succeed. Just curiosity, a simple question, and the willingness to see what happens.
Tonight, pick one idea from this list and ask your child a simple question: “What do you think will happen?” That conversation is where real learning starts. The scientific method isn’t about getting perfect results. It’s about asking questions, testing ideas, and learning from what you observe — even when the experiment doesn’t go as planned.
Your child might surprise you with their observations. They might get frustrated when something doesn’t work. That’s all part of the process. Your job isn’t to make everything perfect. It’s to stand beside them, help them stay organized, and remind them that every scientist starts with a question and a willingness to find out. You’ve got this.
Curated resources and expert insights from the Eaton team to support your homeschool journey. Our content is researched and crafted to help families thrive.