Simple Science Experiments That Make You the Teacher Your Kids Need
The Eaton Team
•February 26, 2026•
14 min read
You want to spark your child’s love of science, but complicated setups, expensive supplies, and messy cleanups make you want to skip it. What if you could create amazing learning moments using things you already have in your kitchen? Simple science experiments don’t need a lab coat or fancy equipment — just curiosity and a few household items. These hands-on activities help your kids understand how the world works while building critical thinking skills. Whether you’re teaching a kindergartener or a middle schooler, you’ll find experiments that fit your family’s schedule and learning style. Most take less than 30 minutes from start to finish, and the supplies probably cost less than a coffee run. Let’s explore easy ways to bring science to life in your homeschool without the stress.
Why Simple Science Experiments Work Better Than Fancy Kits
That $50 science kit looks impressive on the shelf, but here’s what happens: your child uses it once, maybe twice, and then it sits in the closet. Simple science experiments with household items work better because your kids can repeat them whenever they want. When baking soda and vinegar cost pennies, your child can test different amounts ten times in one afternoon without you worrying about the budget.
Using everyday items also changes how your kids see science. It’s not something that happens in a special box on special days — it’s part of regular life. When they notice dish soap creating bubbles or ice melting in their water glass, they’re seeing the same ideas they explored in yesterday’s experiment. That connection makes learning stick.
Simple setups have another advantage: less time reading instructions means more time doing science. Your child can focus on watching what happens and asking “why” instead of following twelve steps in the right order. And when your kindergartener asks “Can we make a volcano?” at 3pm on Tuesday, you can say yes because you already have everything you need.
What Makes a Science Experiment Actually Simple?
Not all science experiments are created equal. The truly simple ones share four key traits that make them perfect for busy homeschool days:
Five ingredients or fewer that you already own. Think baking soda, vinegar, food coloring, dish soap, and water. No specialty stores required.
Setup takes less than 10 minutes from idea to start. You shouldn’t need to watch a tutorial three times or hunt for missing supplies. If you can’t start within 10 minutes, it’s not simple enough.
Cleanup involves regular household items, not special equipment. A damp cloth and your regular dish soap should handle it. No scrubbing mystery substances off the ceiling.
Results are visible quickly so kids stay engaged. Reactions that happen in seconds or minutes keep young learners excited. Waiting three days for mold to grow? Save that for older kids who can handle delayed results.
When an experiment checks all four boxes, you’ll actually do it instead of bookmarking it forever.
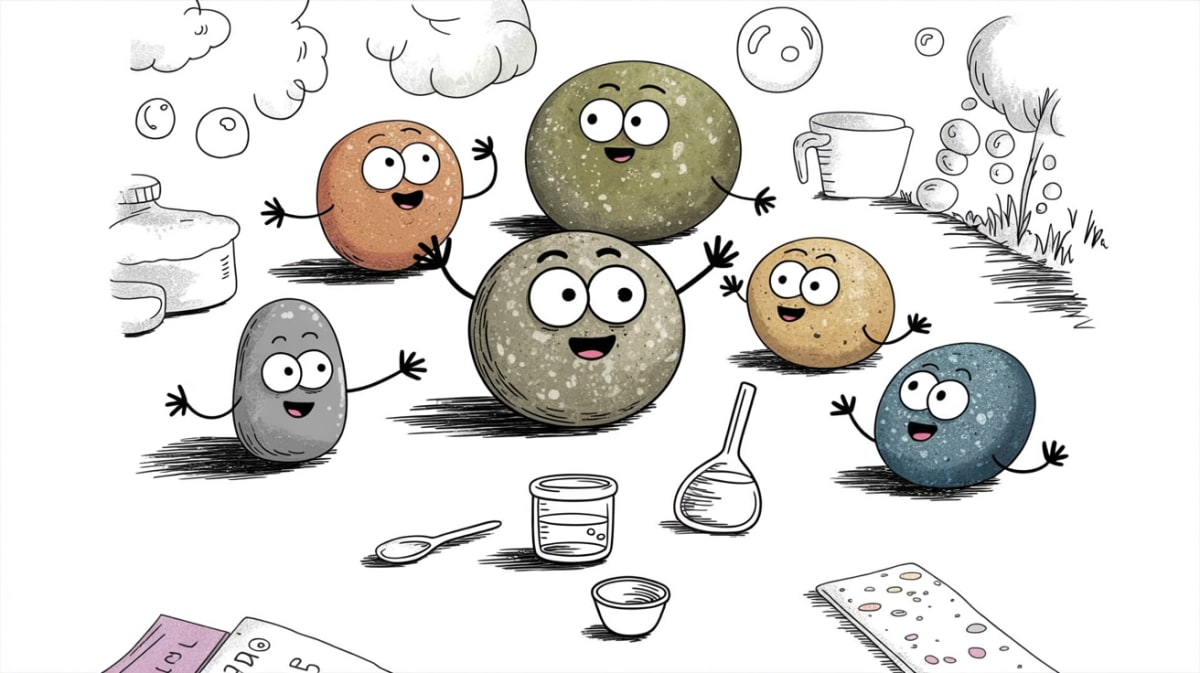
Five Simple Science Experiments You Can Start Today
You don’t need to plan elaborate lessons or order special kits. These simple science experiments use items you probably have right now, and each one teaches a real scientific concept your kids will remember. Pick one that sounds fun and see where their questions take you.
Dancing Raisins
Drop a handful of raisins into a glass of clear soda or sparkling water. Watch them bob up and down like tiny elevators. The carbon dioxide bubbles stick to the wrinkled raisin surface and carry them up. When the bubbles pop at the top, the raisins sink back down. This simple setup shows how gases interact with objects and demonstrates density in action. Your kids can predict what will happen with other small objects like pasta or cereal.
Instant Ice
Put a bottle of purified water in the freezer for exactly two hours and fifteen minutes (timing varies by freezer, so test first). When you take it out, the water is still liquid — but pour it over an ice cube and it freezes instantly before their eyes. This demonstrates supercooling, where water stays liquid below its normal freezing point until something triggers crystallization. It looks like magic but it’s pure physics.
Color-Changing Cabbage
Boil chopped red cabbage in water for ten minutes, then strain out the liquid. This purple juice is your pH indicator. Add vinegar and it turns pink. Add baking soda and it turns blue-green. Let your kids test other household liquids like lemon juice or soap to see the whole color range. They’re learning about acids and bases through immediate visual feedback.
Egg in a Bottle
Peel a hard-boiled egg and set it on top of a glass bottle with an opening slightly smaller than the egg. Light a match, drop it in the bottle, and quickly place the egg on top. As the flame uses up oxygen and the air cools, the egg gets sucked inside. This dramatic demonstration shows air pressure at work in a way kids won’t forget.
Baking Soda Volcano
Build a small mountain of dirt or clay around a plastic cup. Fill the cup halfway with baking soda and a few drops of food coloring. Pour in vinegar and watch it erupt. This classic experiment shows how acids and bases react to create carbon dioxide gas. Kids love the drama, and you can repeat it as many times as they want.
How to Turn Any Simple Science Experiment Into a Full Lesson
A science experiment becomes a real learning experience when you guide your child through the thinking process, not just the steps. You don’t need a formal lab report or complicated worksheets — just a few questions and some time to explore together. This approach works whether you’re studying volcanoes with baking soda or growing crystals on a string. Here’s how to transform a quick activity into deeper understanding:
Start with predictions. Before mixing anything, ask your child what they think will happen and why. Write down their guess — it makes the “aha moment” even better when they see the results.
Observe together. As the experiment unfolds, ask open-ended questions: “What do you notice?” “Why do you think that’s happening?” Let them describe what they see in their own words.
Change one thing and try again. Use more vinegar, try warmer water, or switch to a different material. Seeing how one change affects the outcome teaches the scientific method naturally.
Connect to real life. Help them spot the same principle in everyday situations — how does this relate to cooking, weather, or things they’ve seen outside?
This process turns simple science experiments into rich learning moments. Your child learns to think critically, make predictions, and test ideas. These skills matter far more than memorizing facts from a textbook.
What to Do When Simple Experiments Don’t Work
Your volcano fizzled instead of erupted. The slime stayed liquid. The egg didn’t bounce. Before you feel frustrated, remember that failed experiments are teaching moments in disguise. When things don’t work as planned, your child learns something more valuable than a perfect result — they learn how to think like a scientist. Real scientists spend most of their time troubleshooting and trying again. Here’s how to turn experiment failures into powerful learning experiences:
Pause and ask questions. Instead of jumping in to fix it, ask your child what they think went wrong. “What was different from the instructions?” or “What could we change next time?” helps them develop problem-solving skills.
Try it a different way. Maybe the vinegar was too old, or you need more baking soda. Experiment with different amounts or materials to see what changes the result.
Celebrate the learning. Talk about what you discovered even though it didn’t work perfectly. Scientists learn more from failures than successes, and your child just got real research experience.
Keep it light. If frustration builds, take a break and come back later. Science should be fun, not stressful.
Failed simple science experiments teach resilience and curiosity. Your child learns that mistakes are part of discovery, not something to fear.
How to Build a Simple Science Experiment Routine
The secret to making science a regular part of your homeschool isn’t doing more — it’s making it easier to start. When you remove the friction of hunting for supplies and planning on the fly, science experiments become as simple as pulling out a math workbook. Here’s how to create a routine that sticks:
Keep a bin of common experiment supplies in one place. Stock it with baking soda, vinegar, food coloring, measuring cups, plastic containers, and balloons. When everything’s together, you’ll say yes more often.
Dedicate one day per week to trying something new. Friday afternoons work well for many families. Consistency matters more than perfection.
Let kids choose experiments from a short list you’ve pre-approved. Give them three options so they feel ownership without overwhelming you with requests you can’t fulfill.
Take photos or keep a simple science journal. A notebook with dated entries and quick sketches helps kids see their progress and builds documentation skills for later lab reports.
A routine makes simple science experiments feel natural instead of like extra work. You’ll find yourself looking forward to science time instead of dreading it.
Where to Find More Simple Science Experiments
You don’t need to create every experiment from scratch. Plenty of free resources can fill your homeschool year with fresh ideas. Your public library has science books organized by age level, making it easy to find activities that match your child’s abilities. YouTube channels like SciShow Kids and Science Max demonstrate experiments in real time, so you can watch before trying them at home. Pinterest boards focused on household science experiments let you save favorites and build your own collection. Many science museums offer free downloadable activity guides on their websites — these are designed by educators and tested with real kids. Bookmark a few trusted sources, and you’ll always have a new simple science experiment ready when inspiration strikes.
Frequently Asked Questions
How old should my child be to start science experiments?
Kids as young as three can participate with close supervision. Choose experiments based on your child’s attention span and fine motor skills, not just their age. A preschooler might enjoy watching baking soda fizz or feeling ice melt, while a first grader can measure ingredients and record what happens. Older kids can handle more independent work and make complex observations. Start simple and let your child’s interest guide you to more challenging experiments.
Do I need to understand the science to teach these experiments?
No — you can learn alongside your child. Focus on observation and asking questions rather than having all the answers. What did you notice? What do you think will happen next? Why did that change? Many experiments include simple explanations you can read together afterward. Your curiosity matters more than your knowledge. It’s okay to say “I don’t know — let’s find out together.”
What if my child isn’t interested in science?
Start with experiments that connect to their existing interests. Does your child love cooking? Try food science experiments with yeast or dissolving sugar. Have an artist? Explore color mixing or crystal growing. Active kids often enjoy motion experiments with ramps and balls. Keep it playful and pressure-free. You’re not trying to create a scientist — you’re just exploring together. Sometimes the “boring” subject becomes fascinating when kids can touch it and make predictions.
How do I keep science experiments from taking over my whole day?
Set a timer for 20-30 minutes before you start. Choose experiments with quick results rather than multi-day projects when you’re short on time. Do the hands-on experiment first and save deeper discussion or journaling for later if your child wants to continue. You don’t need to squeeze every learning moment out of each activity. Sometimes the best science lesson is a quick “wow, that was cool” moment that leaves your child wanting more.
You don’t need a science degree or a cart full of expensive supplies to give your kids a rich science education. The simple science experiments that stick with children the longest often happen at the kitchen table with baking soda, vinegar, and a parent who’s willing to say “let’s find out together.” Your willingness to explore matters more than perfect execution.
Pick one experiment from this list and try it this week. Watch what happens when your child asks “why?” or “what if we tried this instead?” Those questions mean you’re doing it right. Science isn’t about getting the “correct” answer every time — it’s about learning to observe, wonder, and test ideas. Some experiments will flop spectacularly, and that’s okay. The mess washes off, and the learning stays.
Keep a simple science notebook where your kids can draw what they see or write one sentence about what surprised them. You’re building more than knowledge — you’re showing them the world is fascinating and they have the tools to understand it.
Curated resources and expert insights from the Eaton team to support your homeschool journey. Our content is researched and crafted to help families thrive.