History Timeline Template Guide for Homeschool Parents
The Eaton Team
•April 22, 2026•
11 min read
You want your kids to see history as a connected story. Not just random dates and events. But making visual timelines from scratch takes hours you don’t have. A history timeline template solves this problem. It gives you a ready-made framework that your kids can fill in as they learn. The good news? You don’t need to be a graphic designer or history expert. You can help your kids understand when things happened and why it matters.
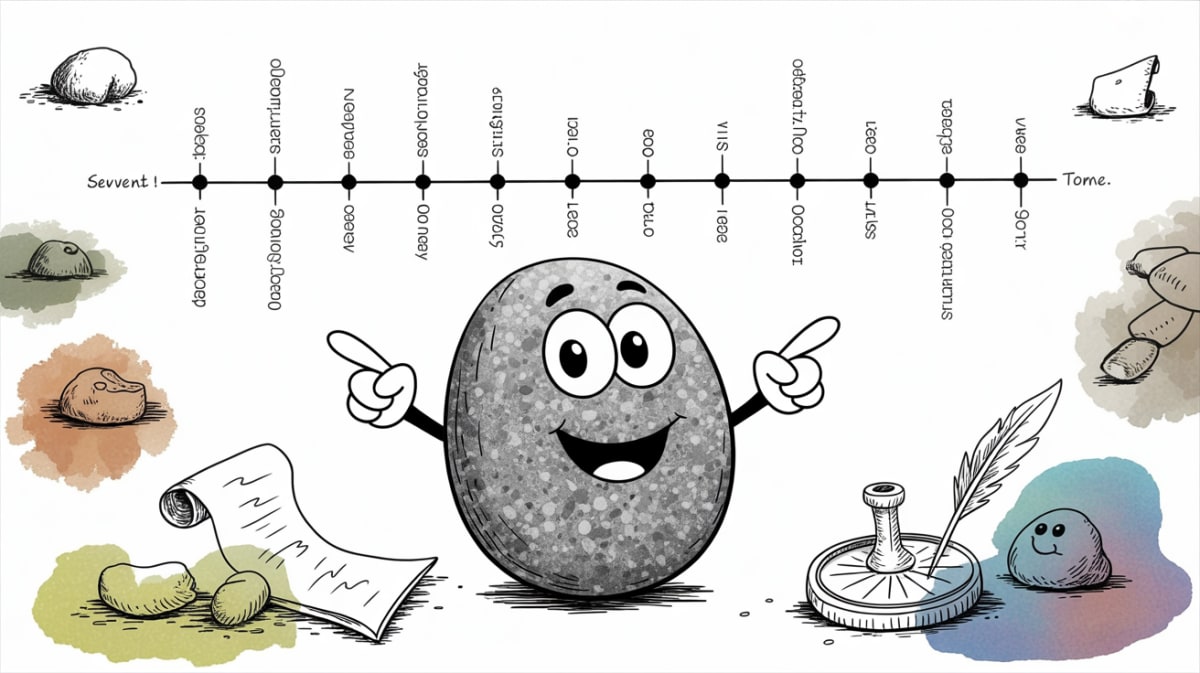
History timeline templates turn abstract dates into visual stories. Your child can see how the American Revolution connects to the founding fathers they’re reading about. They can trace how one invention led to another. Instead of memorizing isolated facts, they’re building a mental map. They see how events flow together. And because templates do the heavy lifting, you spend less time formatting. You spend more time learning alongside your kids.
Why Visual Timelines Transform How Kids Learn History
Your child’s brain is wired for stories, not disconnected facts. When they see history laid out on a timeline, something clicks. Events that seemed random suddenly make sense. They can see what came before and what happened next.
Visual timelines work because they match how kids naturally think. Here’s what happens when your child uses a history timeline template:
They spot patterns they’d miss otherwise. When the Industrial Revolution sits right next to westward expansion on their timeline, they see how factories and railroads connected.
They understand cause and effect. The line from the Boston Tea Party to the Declaration of Independence becomes obvious. It’s visual, not just words in a textbook.
They grasp that history isn’t one story. A timeline shows ancient Egypt thriving while early China developed writing. Different civilizations existed at the same time, doing different things.
The timeline becomes their reference point. When you’re reading about World War I, they can flip back. They can see where it fits with everything else they’ve learned.
What Makes a Good History Timeline Template
Not all timeline templates work equally well for homeschool families. The best ones share a few key features. These features make them useful instead of just pretty. You want a history timeline template your kids can use on their own. Not one that creates more work for you. Here’s what to look for:
Clear date markers that are easy for kids to read and understand. Large, well-spaced labels help younger students. They can place events correctly without constant help from you.
Space for both text and simple drawings or printed images. Visual elements help cement the learning. Your child might sketch a Viking ship. Or glue in a printed photo of the Colosseum.
Flexible enough to add events as you learn them throughout the year. You don’t want to redo the whole thing. Not when you add the Renaissance after covering the Middle Ages. Good templates grow with your studies.
Simple enough that kids can maintain it themselves. If you’re doing all the work, they’re not building the mental connections. The template should empower them, not overwhelm them.
Types of History Timeline Templates for Different Ages
Not all timeline templates work for every age. A kindergartner needs something completely different from a middle schooler. The right history timeline template matches where your child is developmentally. Both in reading ability and in how they think about time.
Simple picture timelines for elementary ages (K-3rd grade): Young children think in concrete terms. They need timelines with large pictures and very few words. A template showing “morning, afternoon, evening” or “spring, summer, fall, winter” helps them grasp sequence. They learn this before they tackle centuries. You might use a timeline with boxes for drawings. Your child illustrates their day or the life cycle of a butterfly.
Horizontal timelines with date ranges for middle grades (4th-6th): Once kids understand years and decades, they’re ready for timelines that span longer periods. A horizontal template with evenly spaced markers lets them plot the 1800s. Or trace their state’s history. They can write brief descriptions under each date. They start seeing gaps between events.
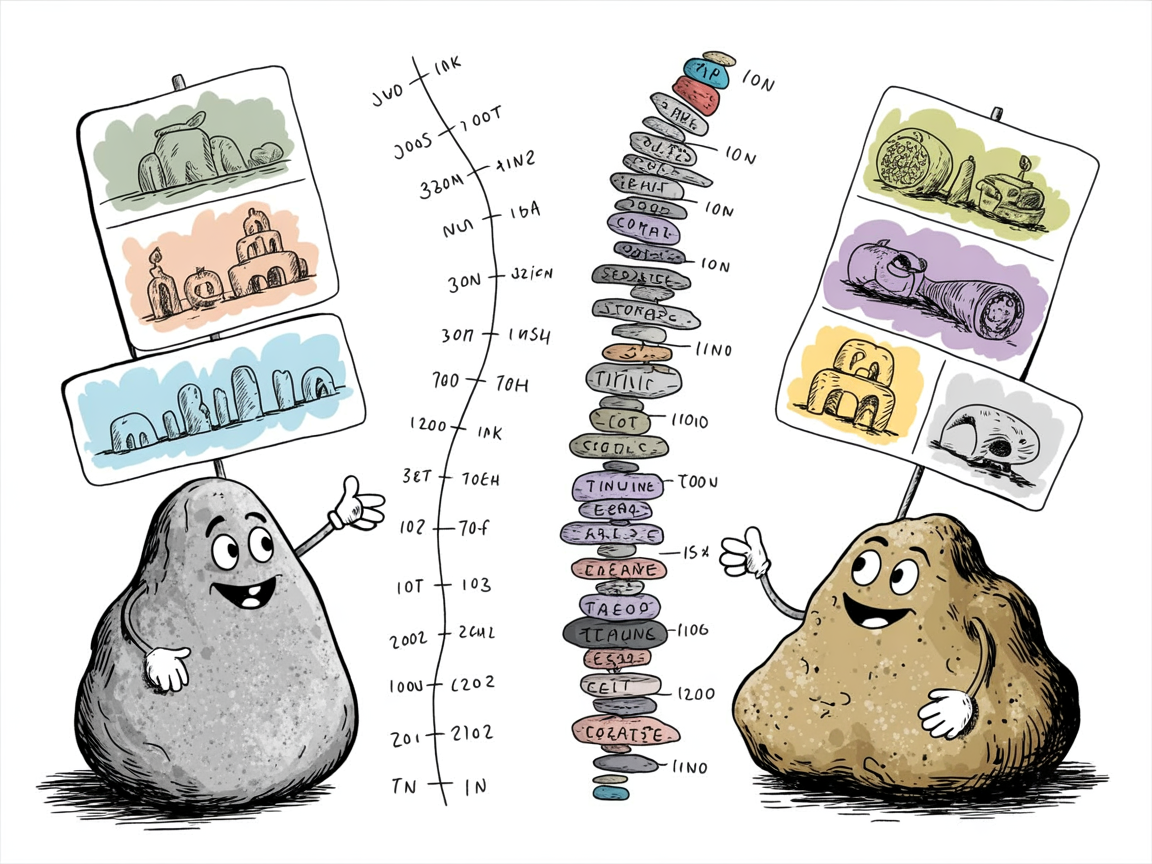
Multi-track timelines for older students: Advanced students benefit from templates that show parallel tracks. One row for European history, another for Asian history, a third for scientific discoveries. This format reveals connections across continents. It helps them compare how different societies developed during the same centuries.
Digital vs. physical timelines: Physical timelines (poster board, printed templates) work well for hands-on learners. They’re great for family projects you’ll display. Digital timelines shine when you need to add, rearrange, or share easily. Younger kids often prefer the tactile experience of gluing and drawing. Older students appreciate the flexibility of digital tools for research projects.
How to Set Up Your History Timeline Template in 30 Minutes
You don’t need hours of prep work to start using a timeline. With a simple framework and 30 minutes, you can create a tool your kids will use all year. The key is starting small and building as you go. Don’t try to map all of history in one sitting.
Choose your time period and scale. Are you studying ancient civilizations? Focus on centuries. Covering the Revolutionary War? Use years or even months. Match your scale to what you’re actually teaching right now. A timeline covering 4,000 years works differently than one showing events from 1770–1783.
Print or draw your base template with date markers. Draw a horizontal line across poster board or print a template. Mark evenly spaced dates that fit your period. For a century view, mark every decade. For a single year, mark every month. Keep it simple. You’re creating a framework, not a work of art.
Add major anchor events your kids already know. Start with 3–5 big events they’ve heard of. Columbus sailing in 1492, the Declaration of Independence in 1776, or the moon landing in 1969. These anchor points help them place new information in context.
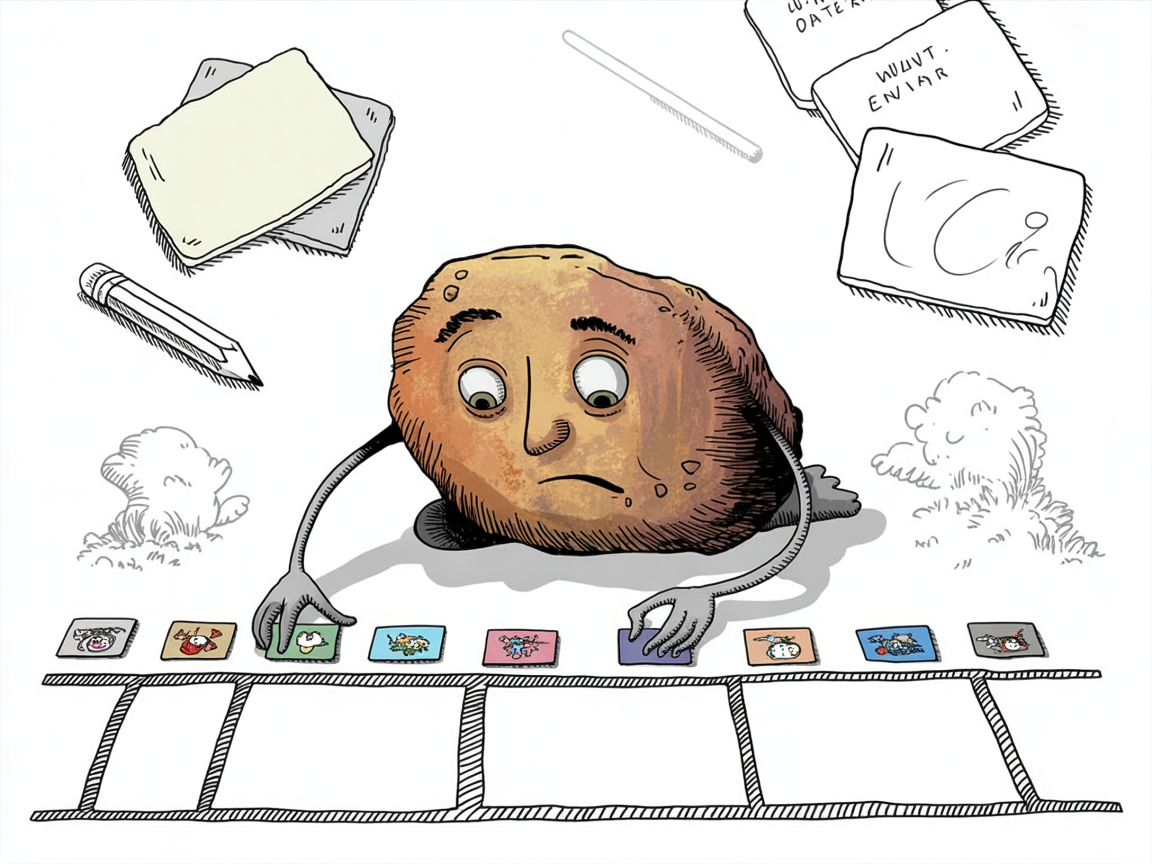
Create a simple system for adding new events weekly. Use sticky notes, index cards, or drawn symbols. When you read about something new, add it to the timeline together. This weekly habit turns the timeline into a living document. It grows with your learning.
Making Timeline Work Part of Your Weekly Routine
The best timeline is one your kids actually use. Set aside ten minutes every Friday to add what you learned that week. This simple habit keeps the timeline current without overwhelming anyone. Your child remembers the details better when they add events right away. You avoid the Sunday night scramble to catch up.
Here’s how to make those weekly sessions work:
Let kids draw simple symbols or paste printed images. A tiny ship for explorers, a book for inventors, a flag for battles. These visual markers help younger kids remember events. They don’t have to read every label.
Use different colors for different types of events. Blue for exploration, red for wars, green for inventions. The color coding makes patterns jump out when you look at the whole timeline.
Review the whole timeline monthly to see the big picture. Stand back and ask questions. “What happened between these two events?” or “Why do you think this led to that?” These conversations turn your timeline into a thinking tool, not just a decoration.
Common Timeline Template Mistakes and How to Avoid Them
Even the best history timeline template can fall flat if you approach it the wrong way. Here are the mistakes homeschool parents make most often. And simple fixes that keep timeline work engaging instead of overwhelming.
Starting too detailed. You don’t need every battle and treaty on day one. Begin with major events only. Maybe five to ten entries. Your child can add detail as their understanding grows. A cluttered timeline confuses more than it clarifies.
Making it a parent project. If you’re doing all the writing and decorating, your child isn’t learning. Let them fill in dates, draw simple illustrations, or choose which events matter most. Messy handwriting and crooked lines mean they’re actually engaged.
Cramming too much on one timeline. A timeline covering 2,000 years of world history gets unreadable fast. Break it into focused chunks. Ancient Egypt, the Renaissance, American expansion. Separate timelines let your child see patterns without visual chaos.
Forgetting to connect it to your studies. The timeline shouldn’t sit in a drawer. Reference it when you read a new chapter. Add to it after a documentary. Ask your child where today’s lesson fits on their timeline. That’s when dates start sticking.
Where to Find Free History Timeline Templates
You don’t need to spend money to get started with timeline templates. Free options exist for every learning style. Whether your kids prefer paper and pencils or working on a computer. The key is finding templates that match how your family actually learns. Not what looks prettiest on Pinterest.
Printable PDF templates — Download and print blank timelines you can use right away. Look for simple designs with clear date markers. And space for notes or drawings.
Customizable digital templates — Google Slides, PowerPoint, and Canva all offer free timeline templates. Your kids can edit them on screen. These work well if you’re already doing digital assignments.
Physical timeline supplies — Butcher paper, index cards, and string create hands-on timelines. Kids can touch and rearrange them. This approach costs almost nothing. It works great for hands-on learners.
Curriculum-specific adaptations — Most templates work with any history program. Just adjust the date range to match what you’re studying. Whether that’s ancient civilizations or modern America.
Frequently Asked Questions
What age should kids start using a history timeline?
Kids as young as kindergarten can start with simple picture timelines. Show major events in their own lives or family history. Did grandma visit last summer? Did they lose their first tooth? These personal timelines teach the concept of “before” and “after.” No pressure at all.
By third grade, most kids are ready for basic historical timelines with dates. They can plot events from their current history studies. They start to see how things connect. Don’t worry about covering all of history at once. Start with whatever period you’re studying right now.
Should I use one timeline for all of history or separate timelines?
Start with one timeline per time period you’re studying. A focused timeline on the American Revolution or Ancient Egypt prevents overwhelm. Your child can actually see the connections. They won’t get lost in centuries of information.
As kids get older and their understanding grows, you can create a master timeline. One that shows all of history. But beginning with smaller, focused timelines builds confidence. It makes the whole process less scary for both of you.
How do I fit a timeline in a small homeschool space?
You don’t need a huge wall to make timelines work. Try accordion-fold timelines that fit in a three-ring binder. Your child can pull them out to add events. Then fold them back up. Vertical timelines work great in a wall corner or behind a door.
Digital timelines on a tablet save physical space entirely. Some families use a hallway or even the back of a closet door. Creative placement works just as well as a dedicated wall. You can still see all the connections that matter.
What if we’re using multiple history resources?
A timeline actually helps when you’re juggling different books or programs. It becomes the central place where everything connects. Your child reads about Benjamin Franklin in one book. And the Boston Tea Party in another. The timeline shows they happened around the same time.
Instead of feeling scattered, multiple resources suddenly fit together. The timeline becomes your anchor point. It shows how different resources complement each other. They don’t compete for attention.
A simple history timeline template turns scattered facts into a connected story. Your kids can see and understand it. You don’t need fancy supplies or hours of prep time. Just grab a basic template. Spend 10 minutes a week adding events as you go. Your kids will start to see patterns you never had to explain. How wars led to new countries. How inventions changed daily life. How ideas spread across continents.
Start this week by choosing one template that fits your current study. Add three events your kids already know from their reading. Let them fill in dates, draw simple pictures, or add their own notes. You’ll be surprised how quickly the timeline becomes their favorite reference tool. History stops feeling like a jumble of names and dates. Instead, it becomes a story they can follow from beginning to end. And that’s when real learning happens.
Curated resources and expert insights from the Eaton team to support your homeschool journey. Our content is researched and crafted to help families thrive.